What is it about a zip line that makes people laugh as soon as they launch themselves on a fast and furious ride on what looks to be a rather thin cable of wrapped metal? For that reason alone, this summer is the perfect time to discover the excitement of this activity right in your backyard. The installation is simple for a beginner do-it-yourselfer.
What Makes a Zip Line so Much Fun?
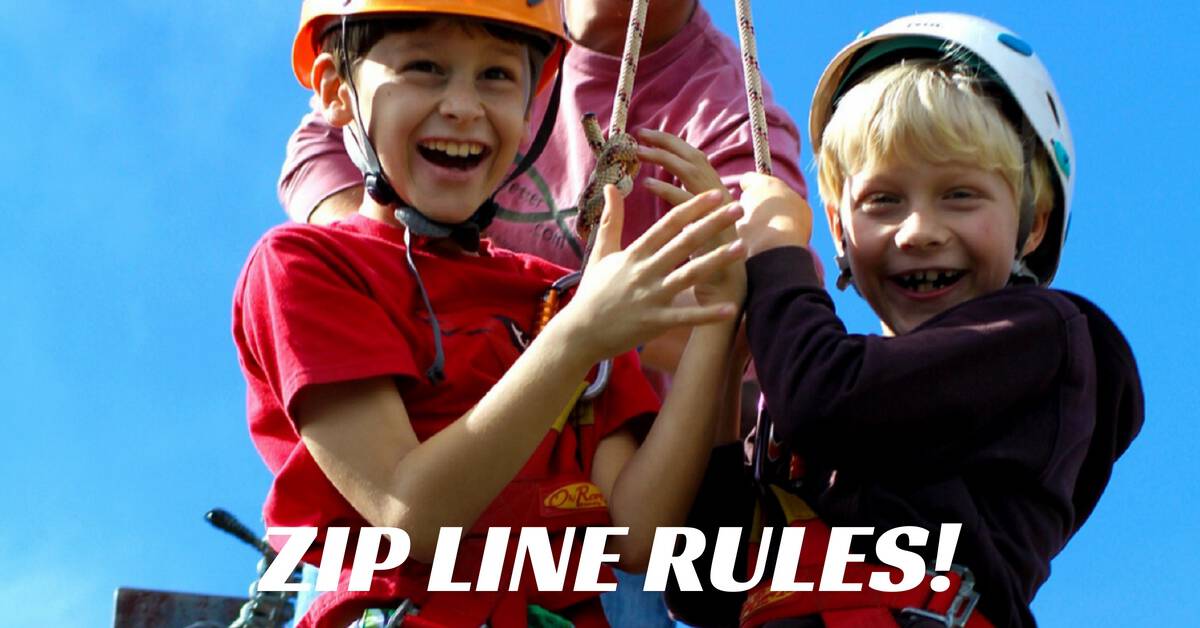
Why do most kids and adults love a zip line adventure? Well, there’s the fact that the ride gets people’s adrenaline pumping, and there is just the right amount of scariness involved. Additionally, it can make a person feel courageous and daring when he or she makes the ride. And who could argue the point that the anticipation of riding the zip line is probably as much fun as the ride itself? Becoming air-bound is an adventure unto itself, and provides hours of exercise that can improve children’s strength, balance, and athleticism.
Materials for a DIY Zipline
When it comes to the building of a zip line in a backyard, deciding on a budget, determining the size of the zip line, becoming knowledgeable as to the safety measures, and accruing the necessary tools are some of the steps involved in the task.
The price of the materials needed will fluctuate according to the length of the zip line, the types of seat or handlebar, and other items included in the selected kit. For example, a 500′ zip line kit with a safety harness, hand bar, free mounted trolley, bungee break, stop block, and all the hardware needed for installation can cost as much as $800.
In the medium-price category, the cost will be around $350 for a 350 lb. weight limit zip line designed to be installed by the buyer and includes:
- 200′ of 3/8″ galvanized aircraft cable
- handlebar
- trolley
- circular, wooden seat
- stop block
- one-year guarantee
The money-saving version of a 90′ backyard zip line will come in at about $170. The materials included in the kit most likely include:
- 90′ galvanized steel
- hardware
- cable
- trolley
- removable seat
Check out these Zip Lines for kids available on Amazon.com.
How to Install a Zip Line
The first point of business is to decide where to locate the zip line. If the line is going to start in a tree house or from a strong and sturdy tree, temporarily attach the cable to that point. Remember, zip lines work because of gravity.
- Walk the other end of the cable to the destination point (probably another tree). If the height and placement are right, permanently attach both ends of the cable.
- Use something thick and soft, blocks of wood, or a garden hose to protect a tree’s bark when you wrap the cable around it.
- To tighten the cable, use a “haven grip” or a “come along.”
- Before sending a person flying, use a weight to determine if the height of the cable all the way to the destination point is adequate for the height of the individuals who will be using it. Doing so will also measure the momentum with which a person’s impact on the destination point will be.
- Adjust cable tension to avoid too much sag or extreme tautness.
- Remember, the longer the line, the bigger the cable needed.
- Know that larger cables ride more smoothly.
- Be aware that the tighter the cable, the larger the diameter of the line should be.
- Use 100% steel cable for safety.
Building a zip line will bring years of fun to children, their friends, and, who knows, maybe to grandchildren, as well. The idea is to be sure to use the appropriate materials and the soundest building techniques. After that, it’s time to start having fun!
Enjoy safely. Please visit Zip Line Safety Tips from the American Academy of Pediatrics.